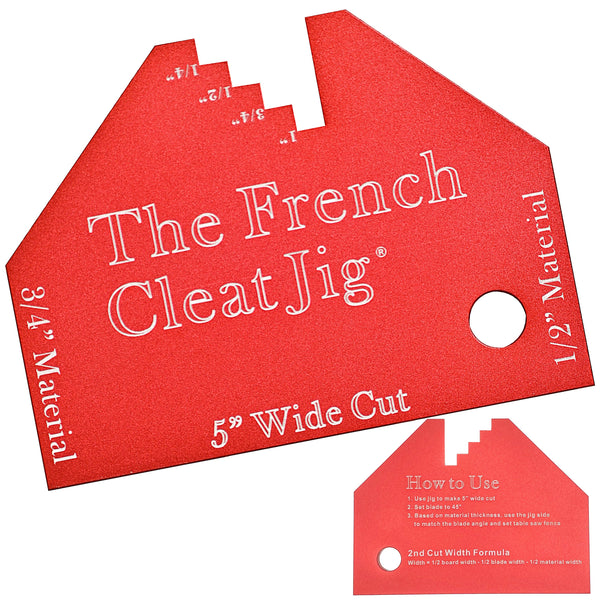

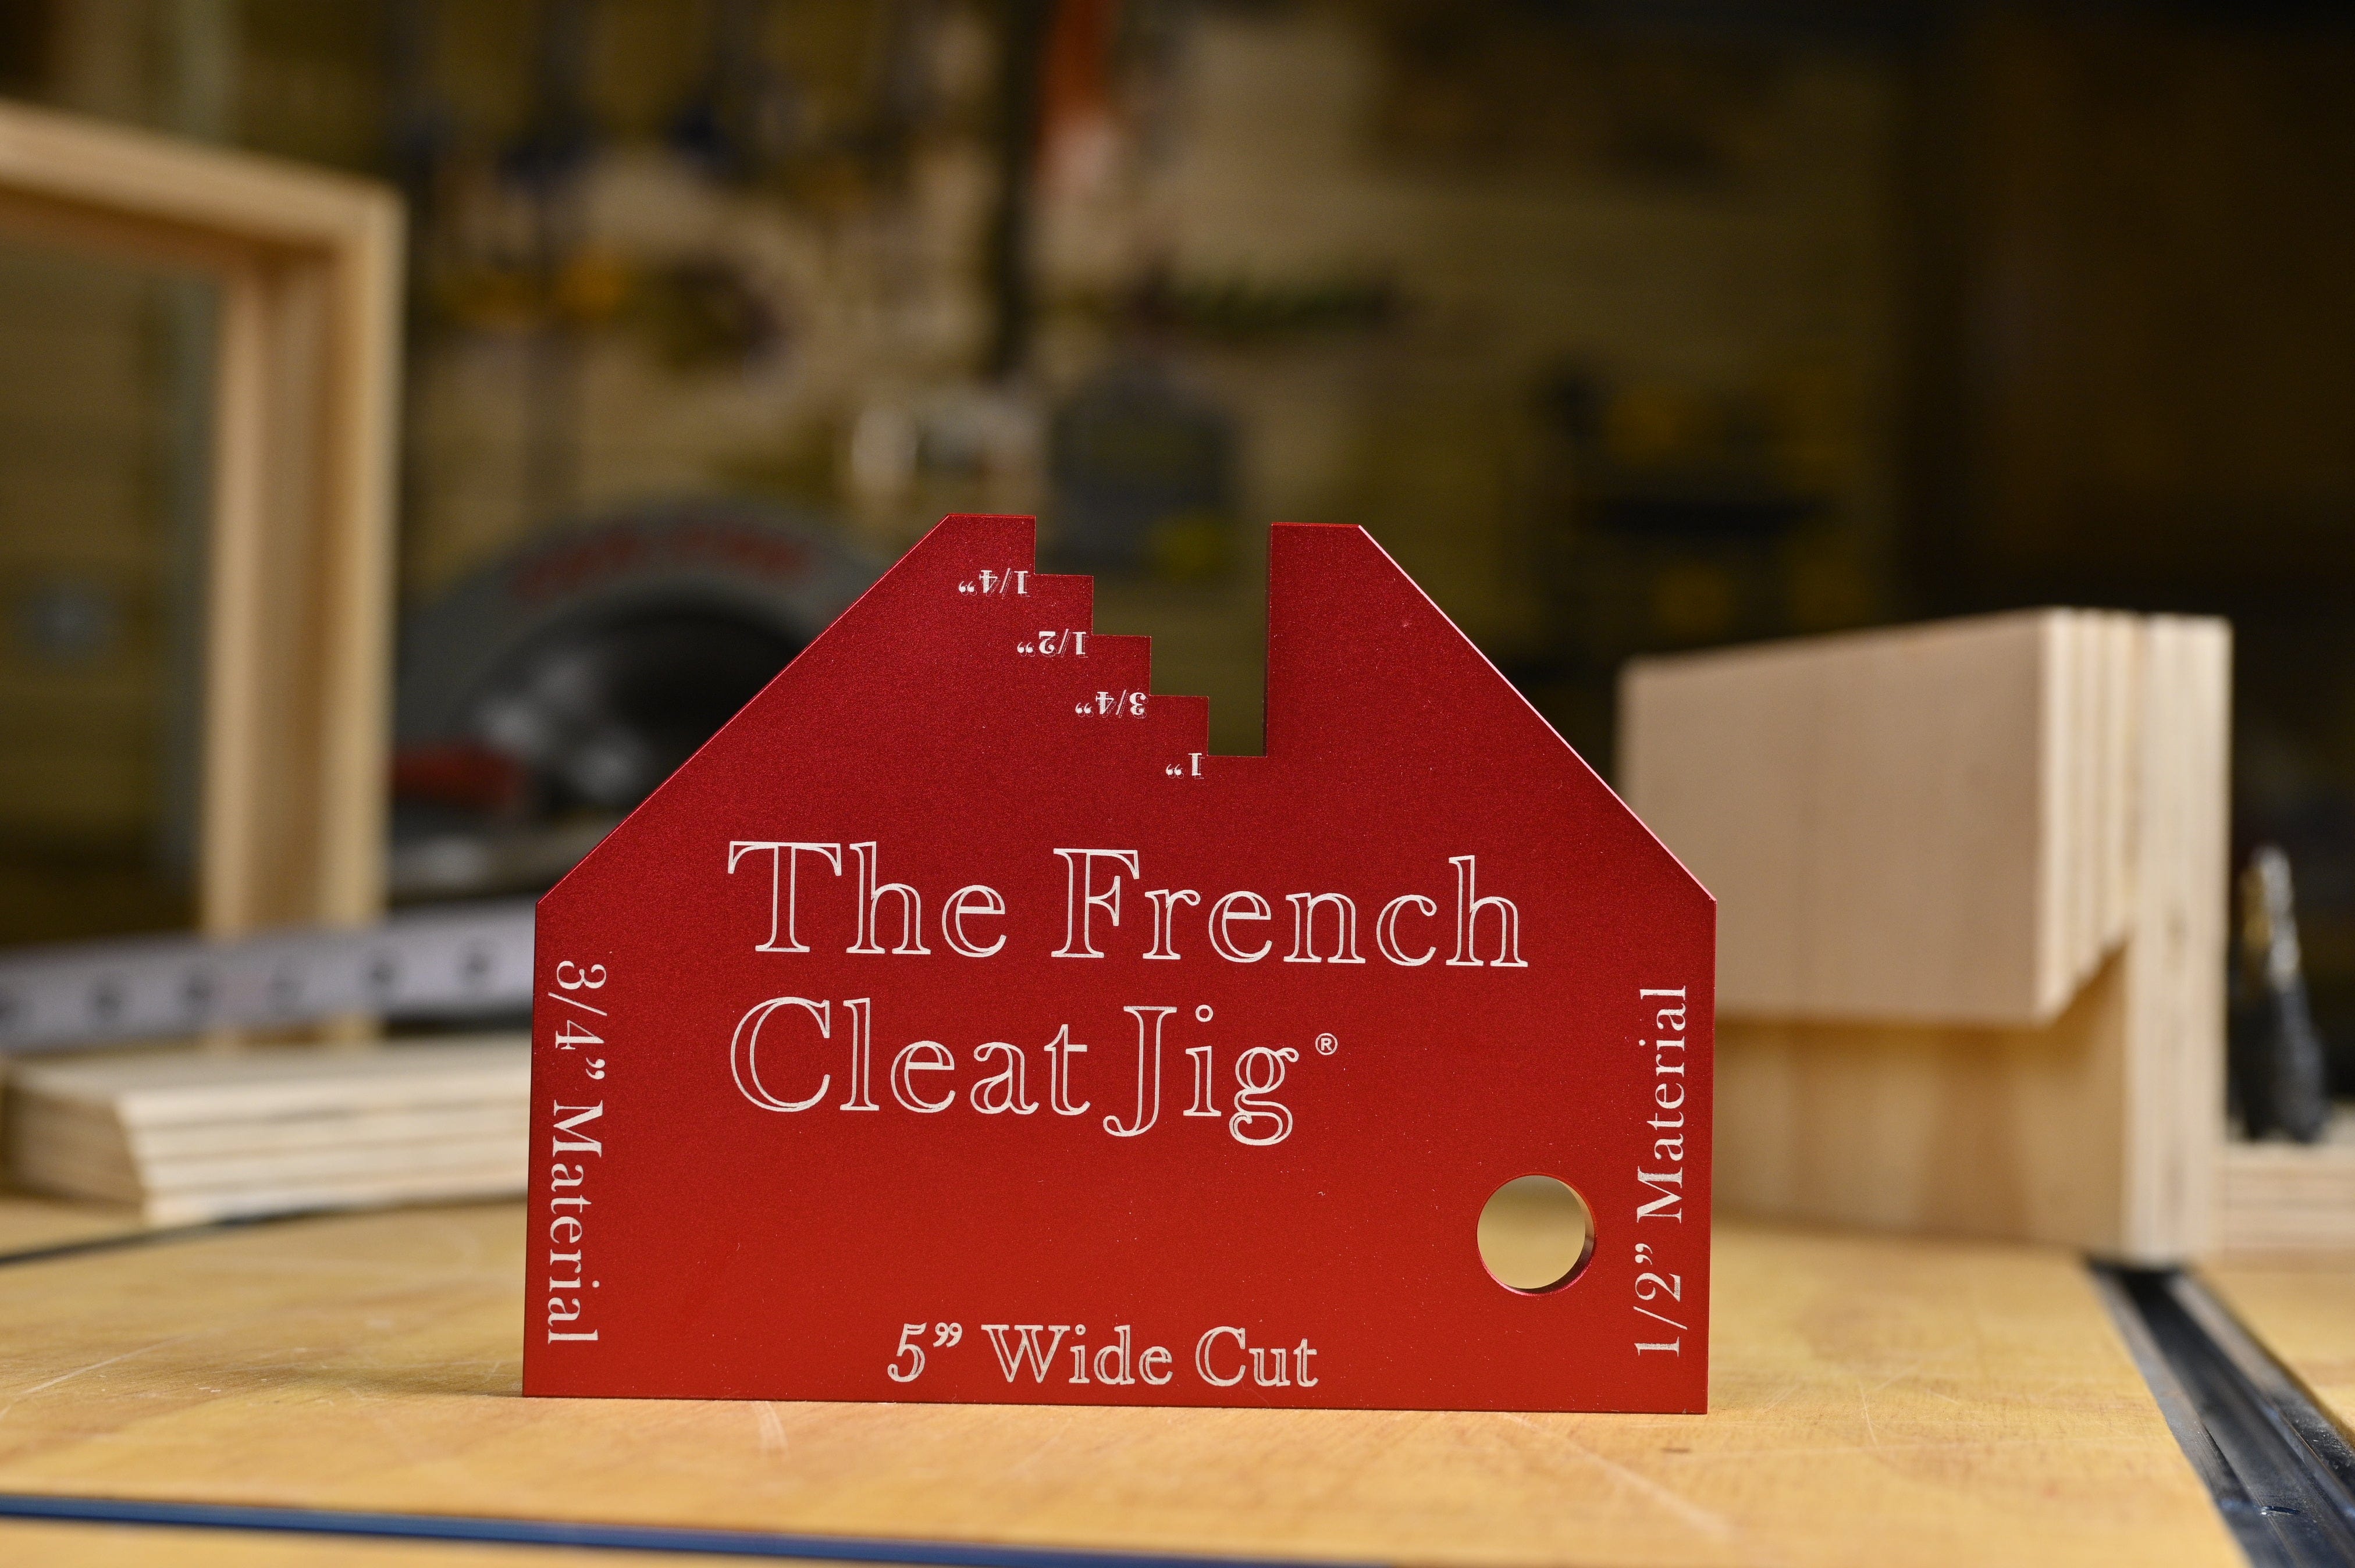
How to use the French Cleat Jig
The French Cleat Jig is a simple, yet invaluable tool for anyone that values their time in their workshop. No calculations, just grab the jig and cut.
Know your Tool
Transform your woodworking projects with precision and confidence using the French Cleat Jig. This innovative tool eliminates the guesswork and complexity traditionally associated with French cleat systems, making it easier than ever to install sturdy wall organization solutions and floating furniture. Whether you're a DIY enthusiast or a professional woodworker, our French Cleat Jig ensures clean, accurate cuts, resulting in stronger holds and higher weight capacities for your mounting systems.
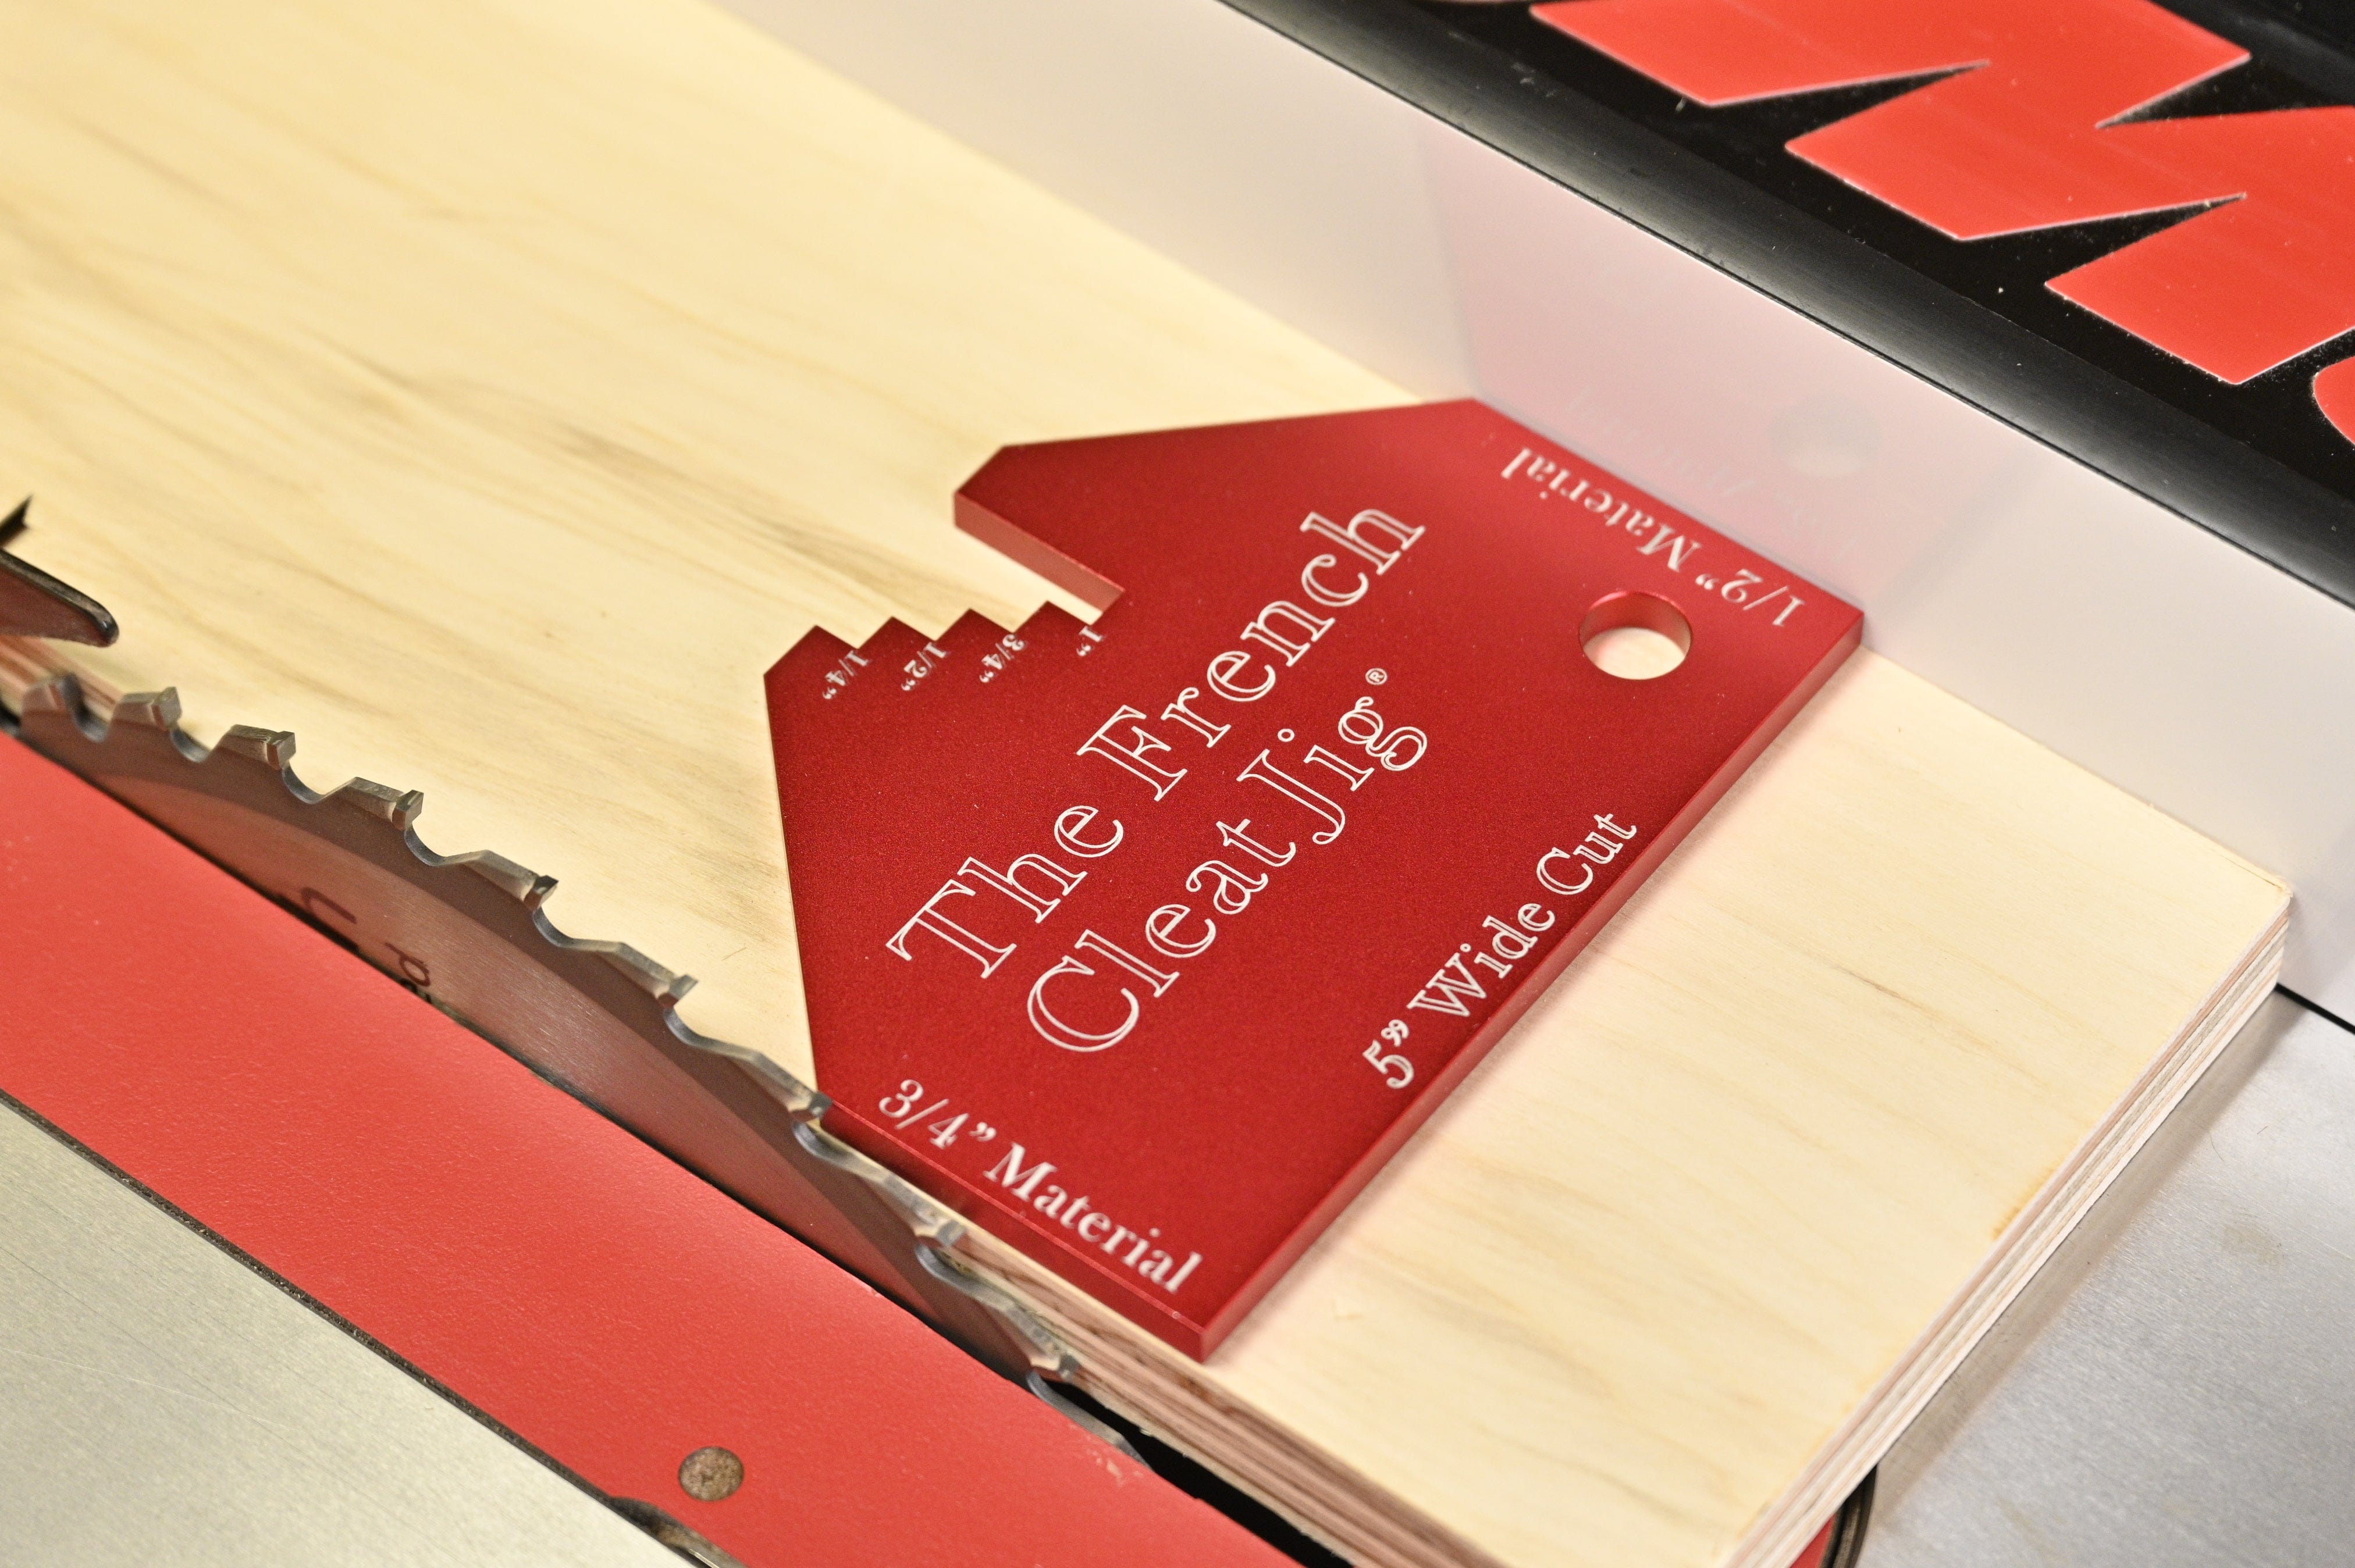
5" Wide Board Cut
Use the French Cleat Jig's wide edge to measure and set the position of the fence for the first cut of your plywood. The result of this cut will be a 5" wide board.
Angle Time
Loosen the fence tension and raise blade hight to 1 1/2". Adjust table saw blade angle to 45°. Based on the material thickness that you are using for the French cleats, orient the jig with the corresponding side facing down.
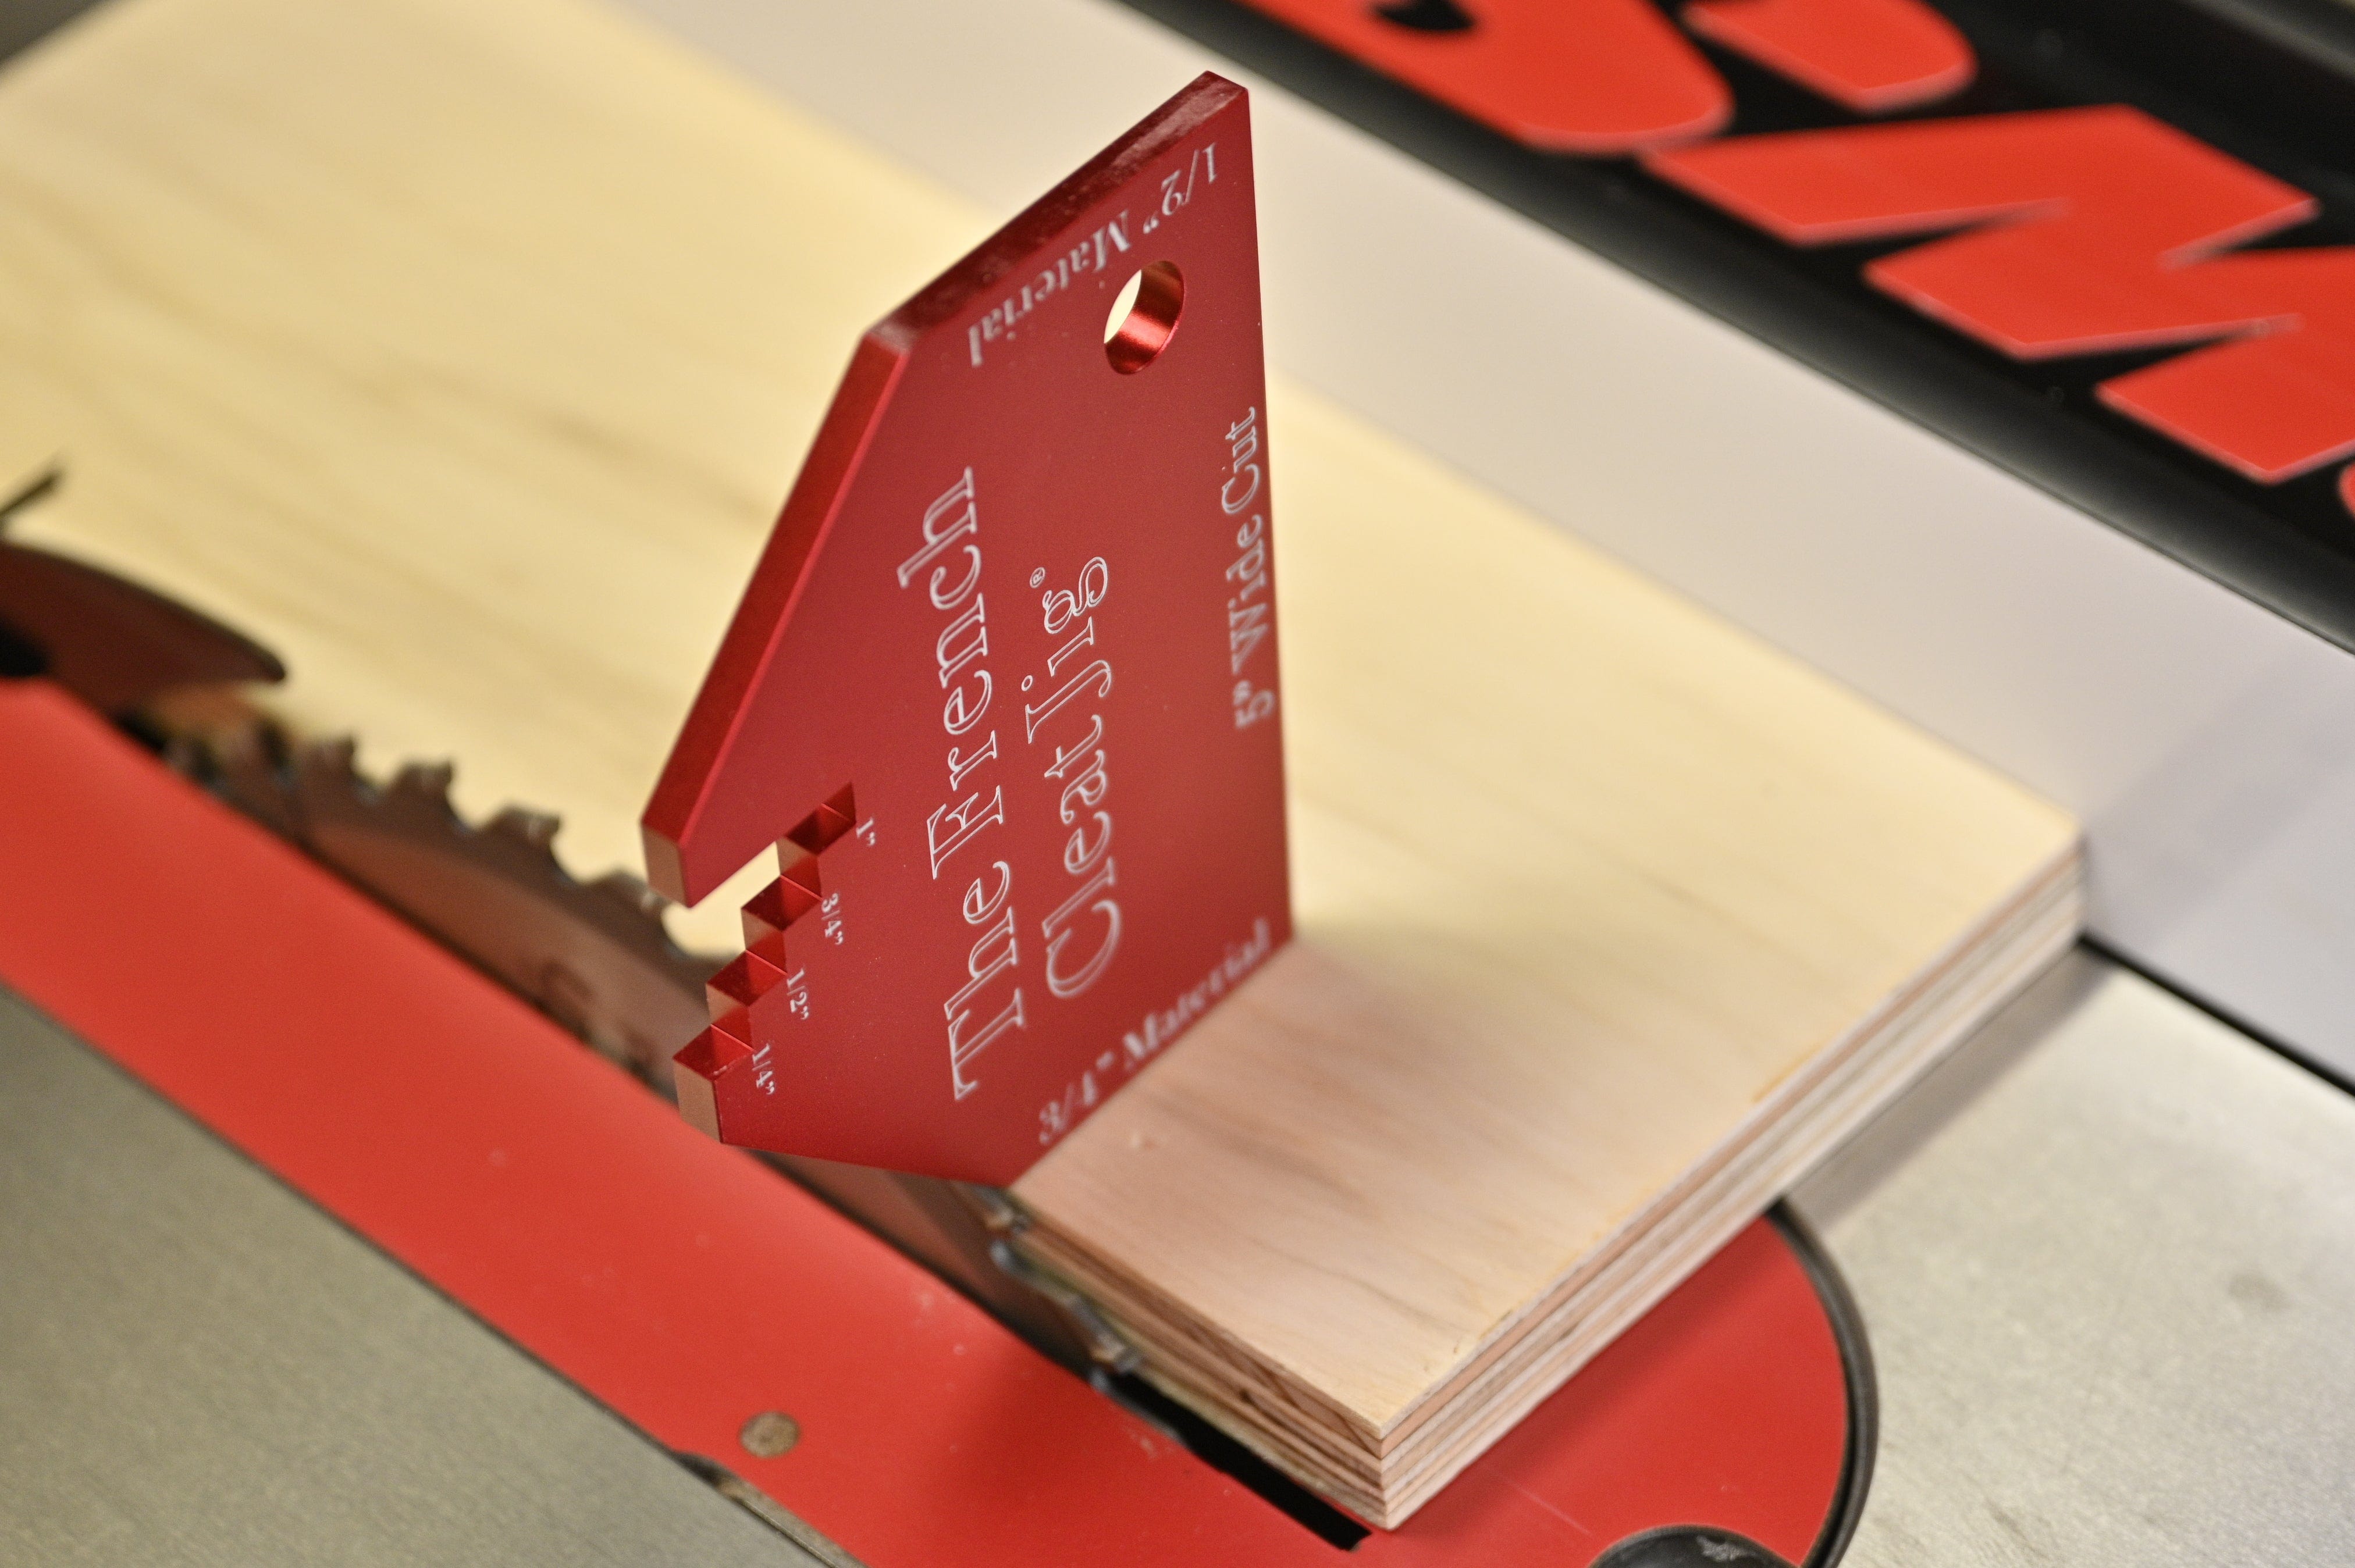


Measure Twice Cut Once
Once oriented, slide the Jig's 45° edge against the blade so that it is flush with your blade. Make special note of the blade's carbide teeth. It is these, and not the blade thickness itself that determine the kerf. The kerf of the blade will determine how much material that is removed by your blade.
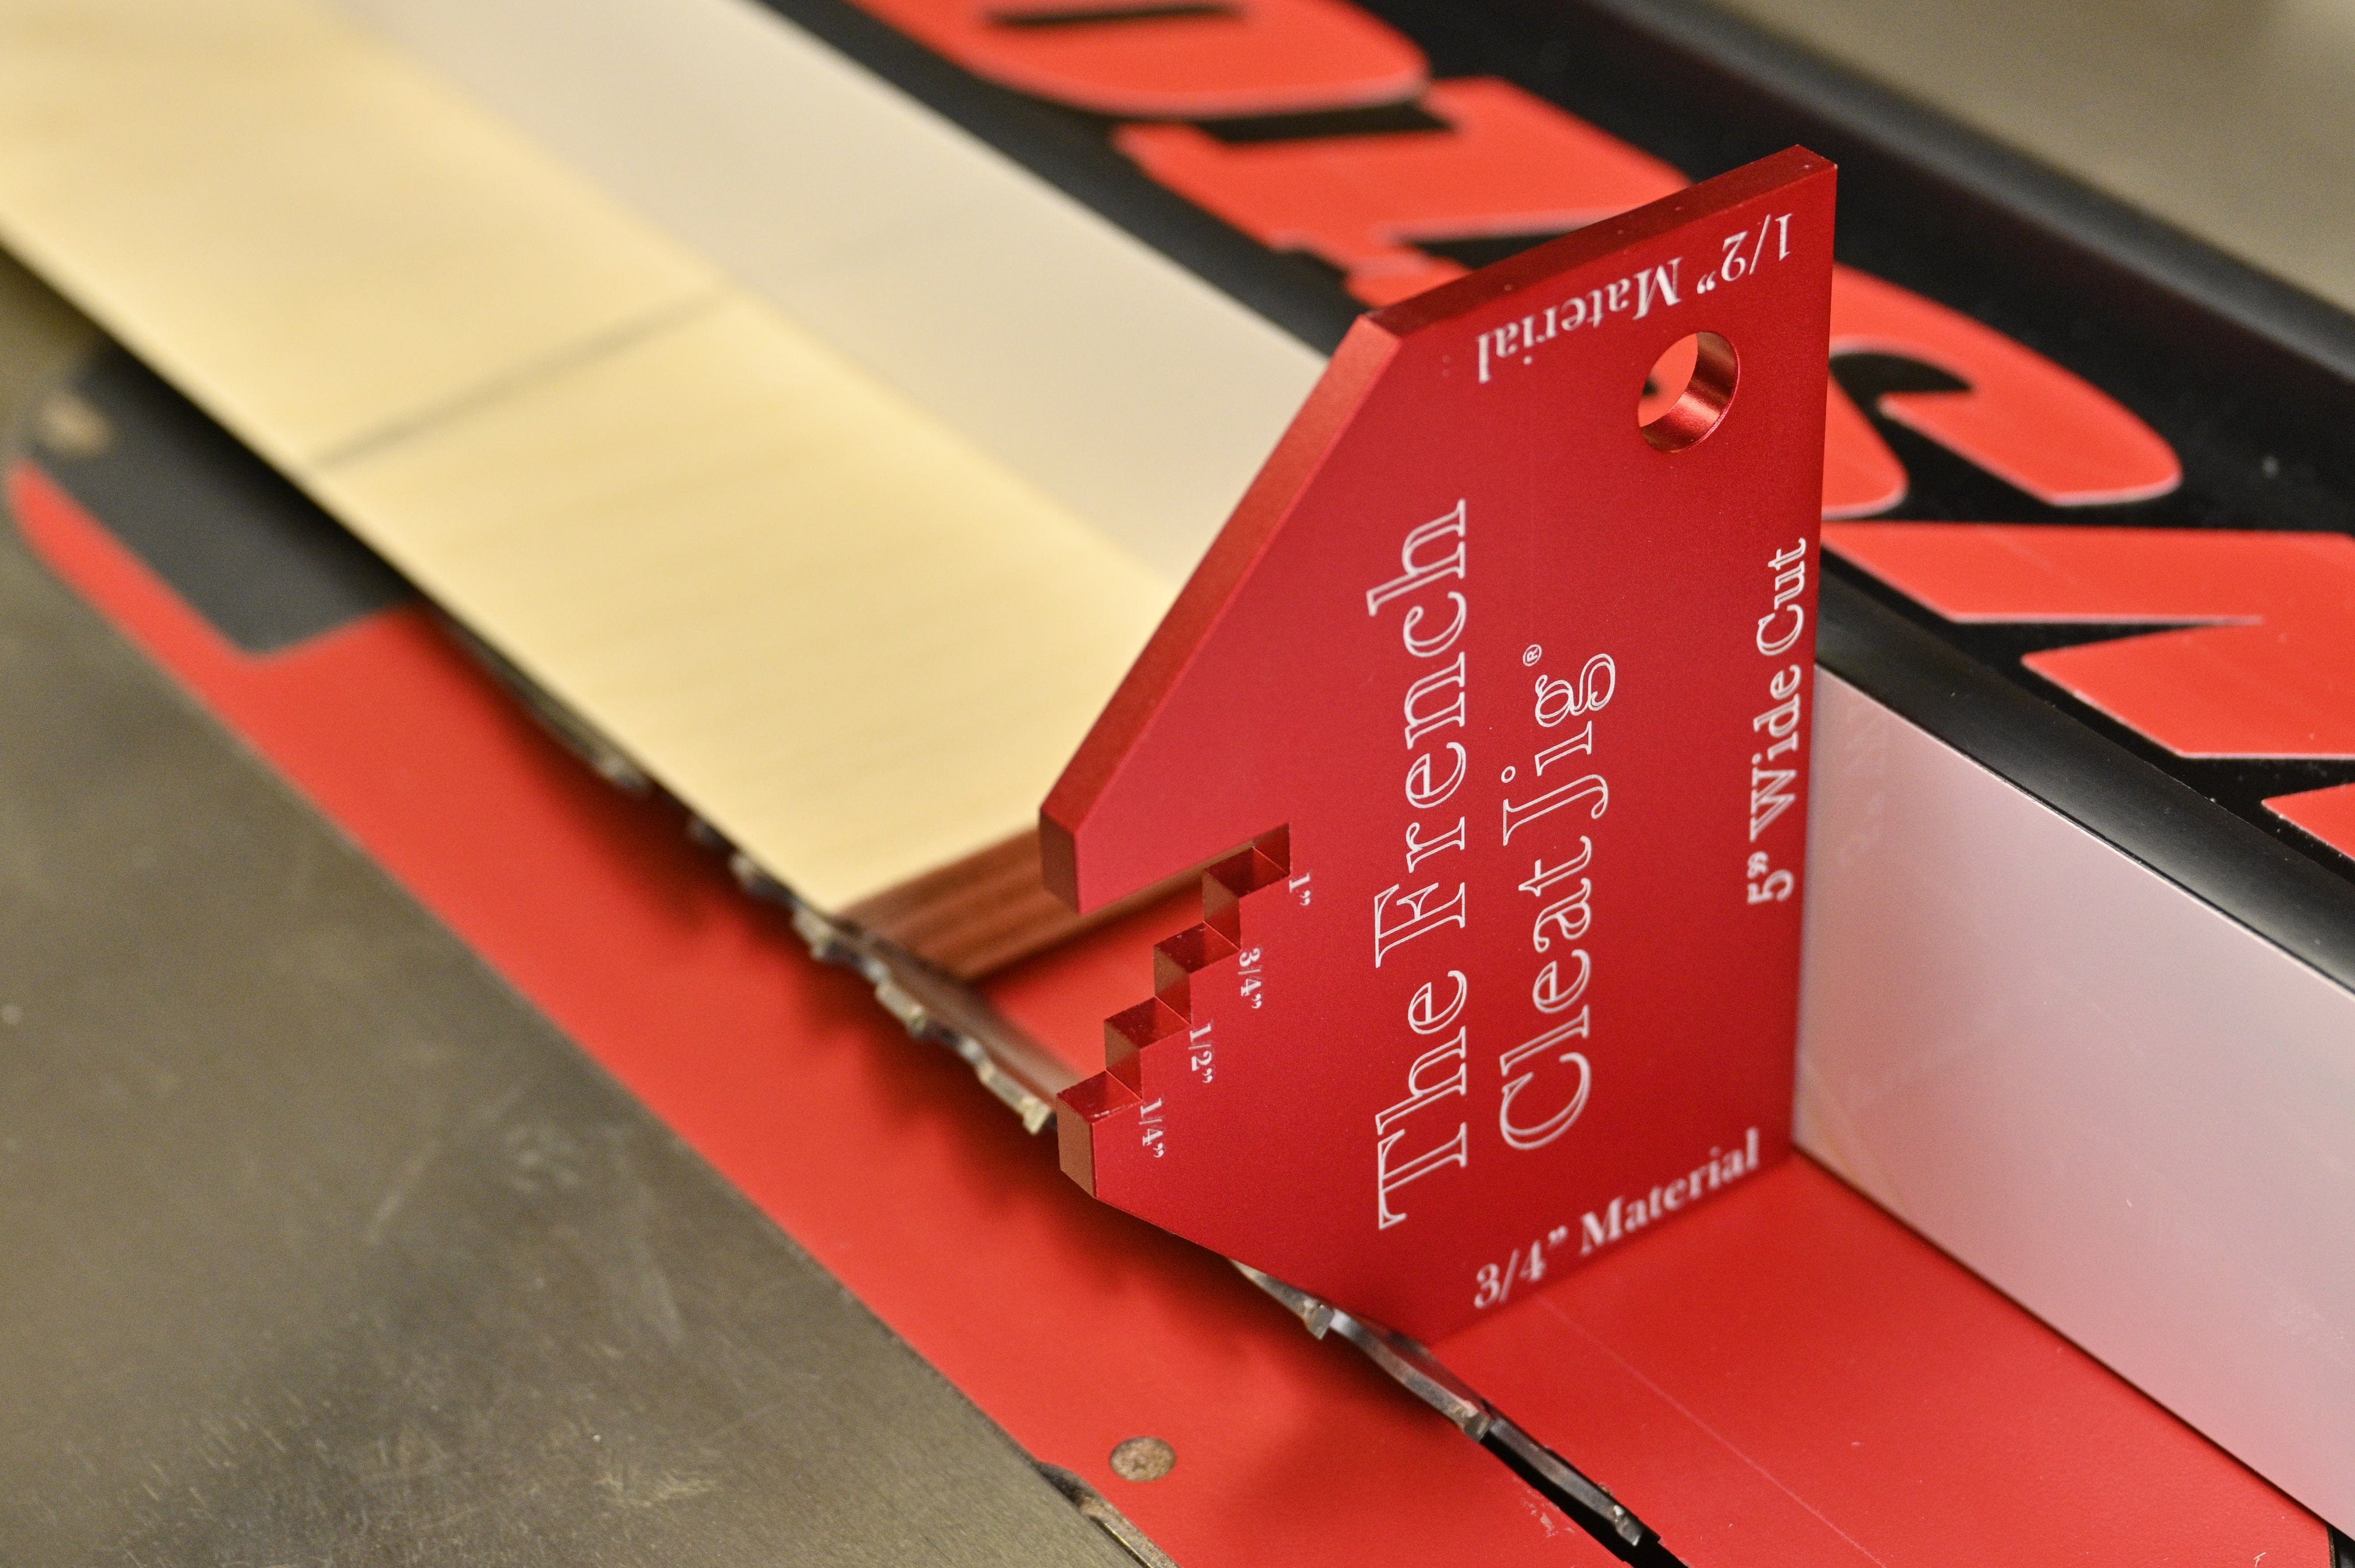
The One that Matters
It is important to slide the Jig onto the blade until it makes contact with the carbide teeth and not the face of the blade itself. Once you are confident with the positioning of the Jig, slide in your fence and lock it into position. Now make your cut on your previously generated 5" board and you will have two identical 2.5" French cleats.
A Little Off the Top
Build up of dust and debris can happen in a workshop or garage. Best practice has always been to the very tip of your French cleat's 45° angle. This can be accomplished by setting your blade to 90° and sliding your fence next to the blade. By doing this you can cut a blade thickness' worth of material off the tip. This will leave room between the two corresponding French Cleat's so that they will always have a secure fit - no matter how dirty you're workshop becomes.
*** Proper protective equipment must be used at all time when working with machinery. At no point should minors be left unsupervised. The above should serve only as a guide and any reference within should not constitute a acceptance of responsibility for your individual actions.